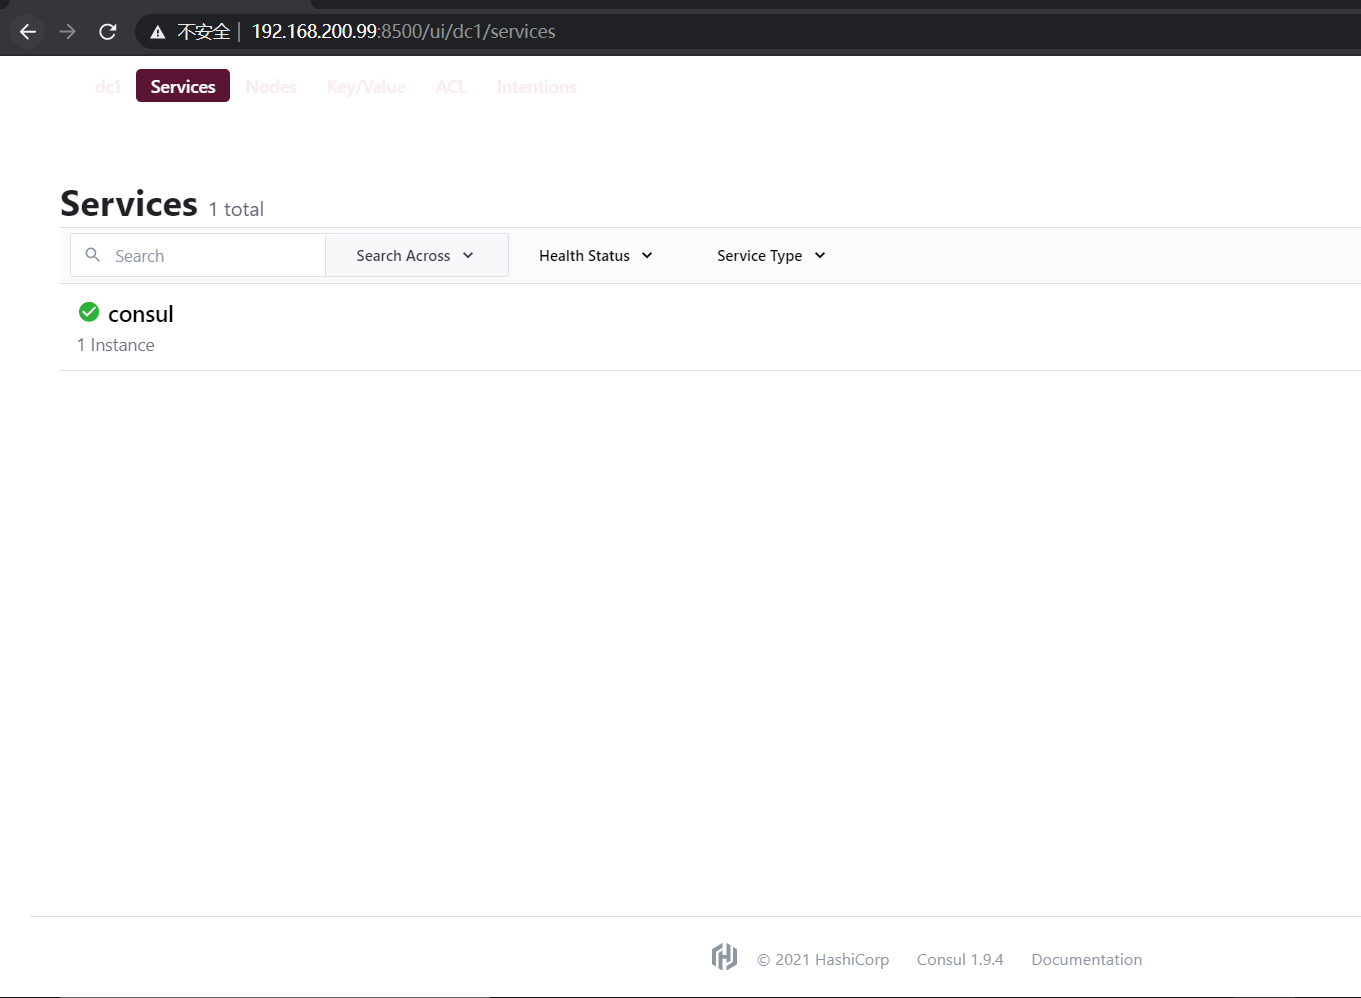
docker搭建环境
mysql
下载docker pull mysql:5.7
安装docker run -p 3306:3306 –name mysql -v /root/mysql/conf:/etc/mysql/conf.d -v /root/mysql/logs:/logs -v /root/mysql/data:/var/lib/mysql -e MYSQL_ROOT_PASSWORD=root -d mysql:5.7
【映射:宿主机ip:3306】————————例如3307:3306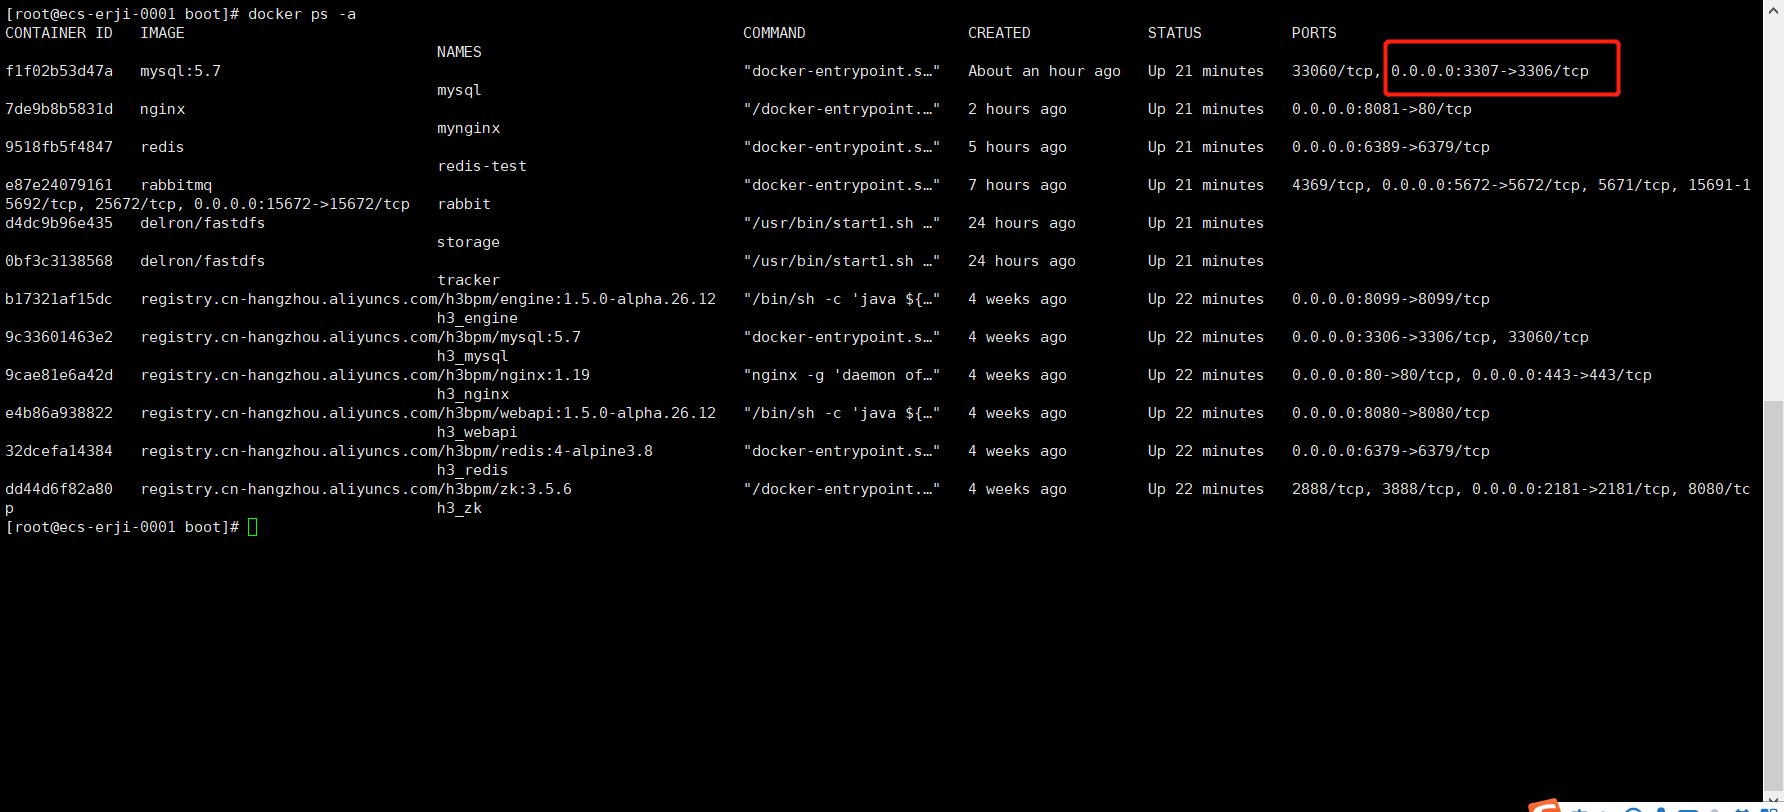
进入镜像docker exec -it mysql /bin/bash
登录
mysql -u root -p
root
回到mysql镜像处
安装命令
apt-get update
apt-get install vim
vim etc/mysql/mysql.conf.d/mysqld.cnf
添加
lower_case_table_names=1(大小写敏感,好像只能手打复制不了)
ctrl+p+q退出环境
docker ps -a
docker stop 【mysql的id】
docker start
远程开放属于默认,不确定可以进到数据库里开放
后台服务如果报错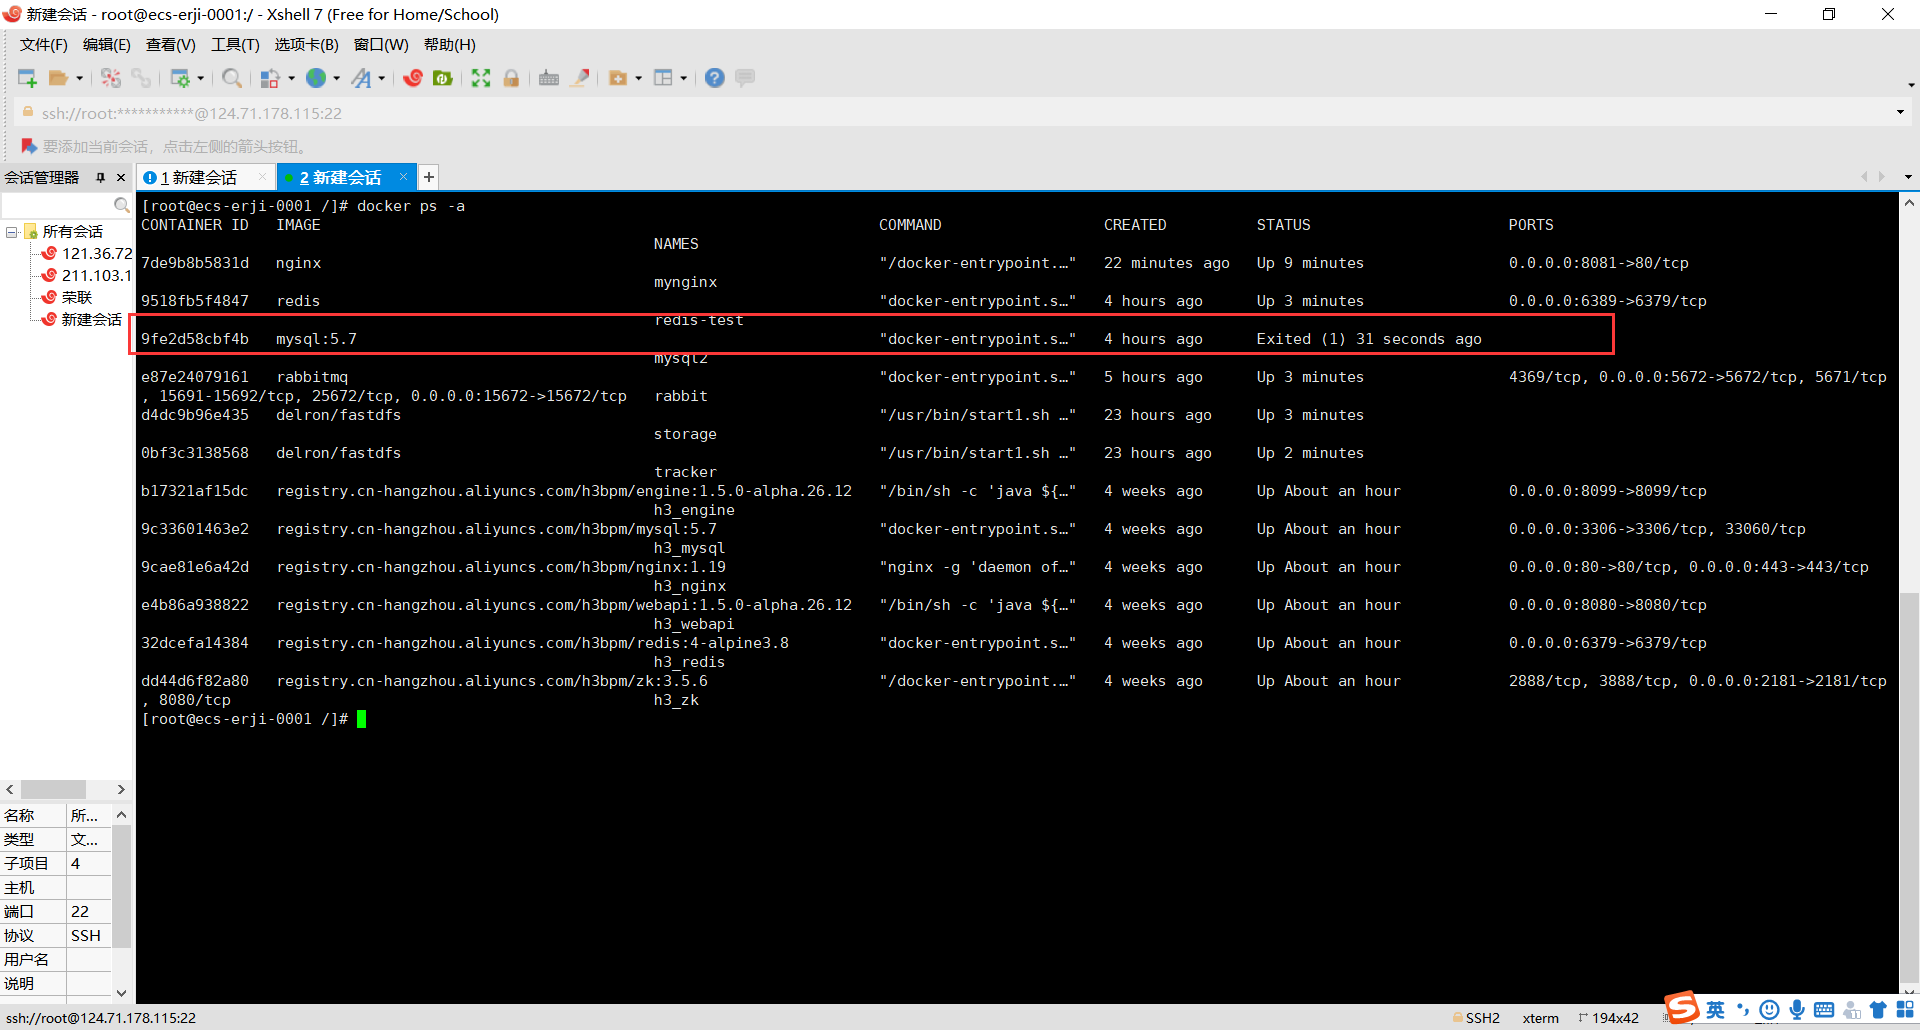
重启就行
systemctl restart docker
查看想开的端口是否已开:firewall-cmd –query-port=3306/tcp
添加指定需要开放的端口:firewall-cmd –add-port=3306/tcp –permanent
重载入添加的端口:firewall-cmd –reload
阿里云服务器记得开放端口3306
linux系统最好也开放,关防火墙
rabbitmq
安装
docker pull rabbitmq
启动
docker run -d –hostname my-rabbit –name rabbit -p 15672:15672 -p 5672:5672 rabbitmq
先执行docker ps 拿到当前的镜像ID
进入容器
安装插件
docker ps
docker exec -it 镜像ID /bin/bash
rabbitmq-plugins enable rabbitmq_management
用户和密码默认都是guest
可以重新创个自己使用的用户
rabbitmqctl add_user admin 123456 账号admin+密码123456
rabbitmqctl set_user_tags admin administrator 账号admin+administrator超级用户
rabbitmqctl add_user ibps ibps@123 新增账户
rabbitmqctl add_vhost /ibps 授权vhost
rabbitmqctl set_permissions -p /ibps ibps “.*” “.*” “.*” 给予账号ibps+ibps授权
最好都分配权限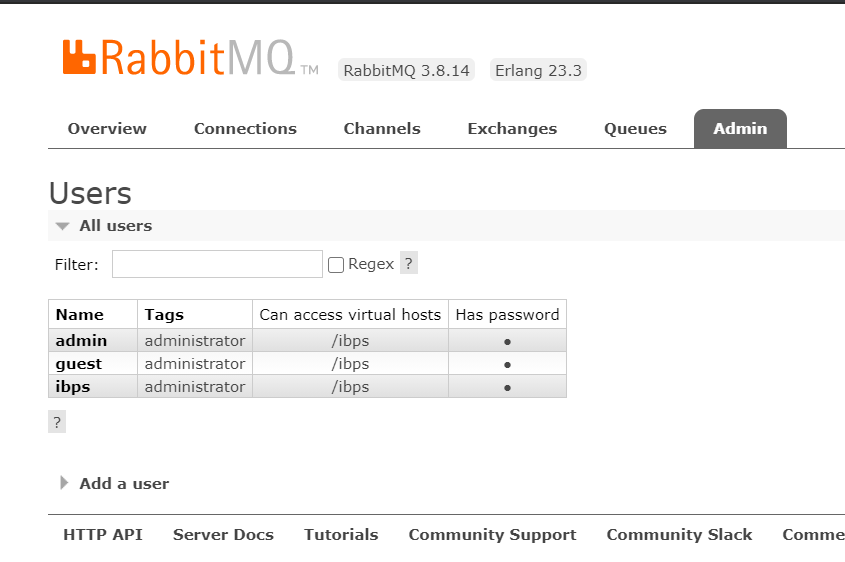
阿里云服务器记得开放端口15672/5672
redis
安装
docker pull redis:latest
docker run -itd –name redis-test -p 6379:6379 redis
测试
docker exec -it redis-test /bin/bash
redis-cli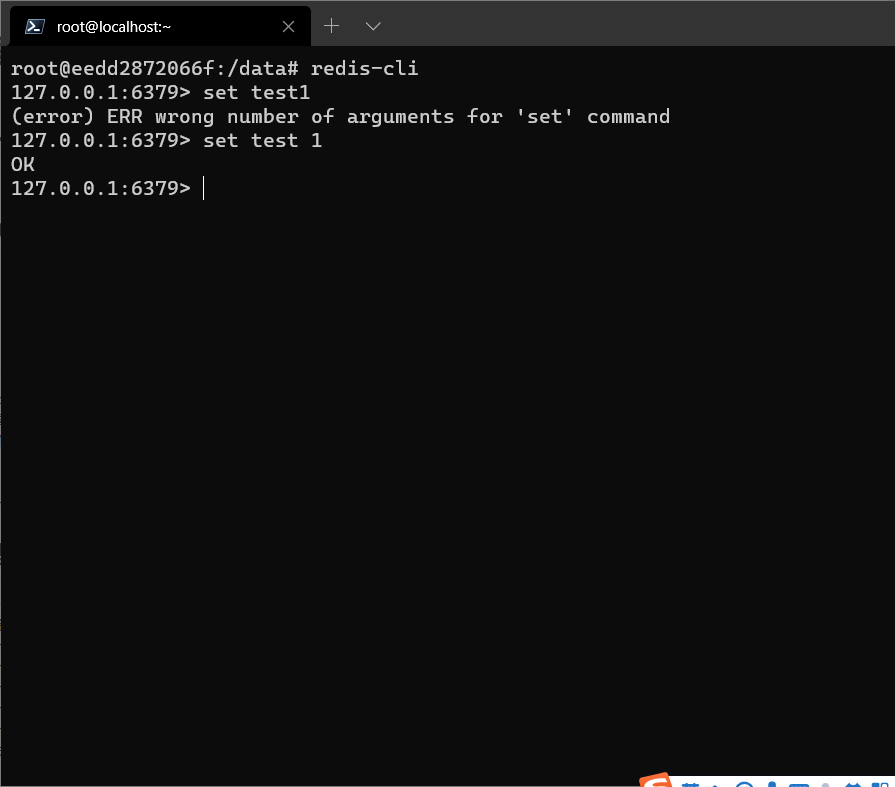
阿里云服务器记得开放端口6379
fastdfs
安装
docker image pull delron/fastdfs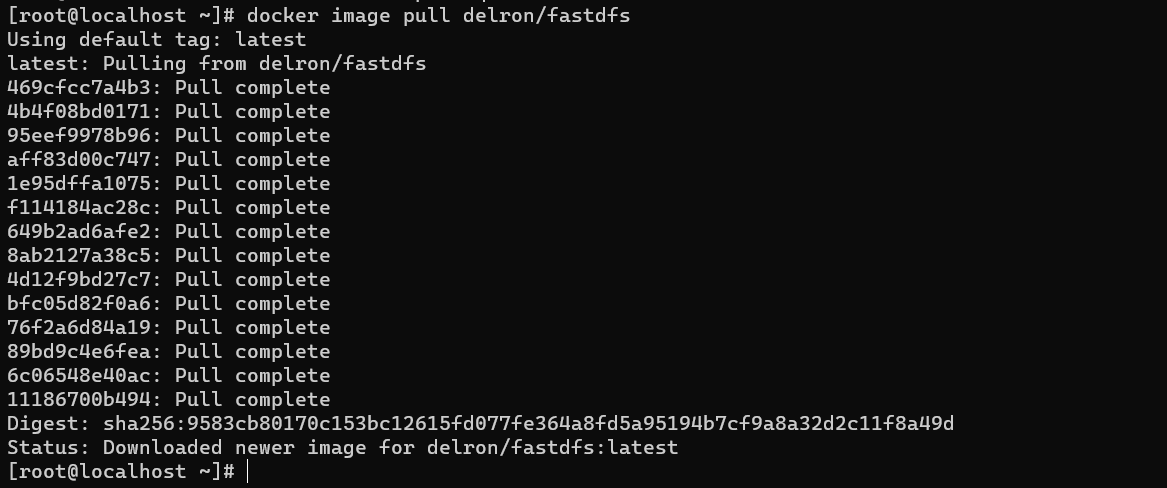
运行tracker
docker run -dti –network=host –name tracker -v /var/fdfs/tracker:/var/fdfs delron/fastdfs tracker
停止docker container stop tracker
运行storage
docker run -dti –network=host –name storage -e TRACKER_SERVER=192.168.200.99:22122 -v /var/fdfs/storage:/var/fdfs delron/fastdfs storage【ip改成自己的】
停止docker container stop storage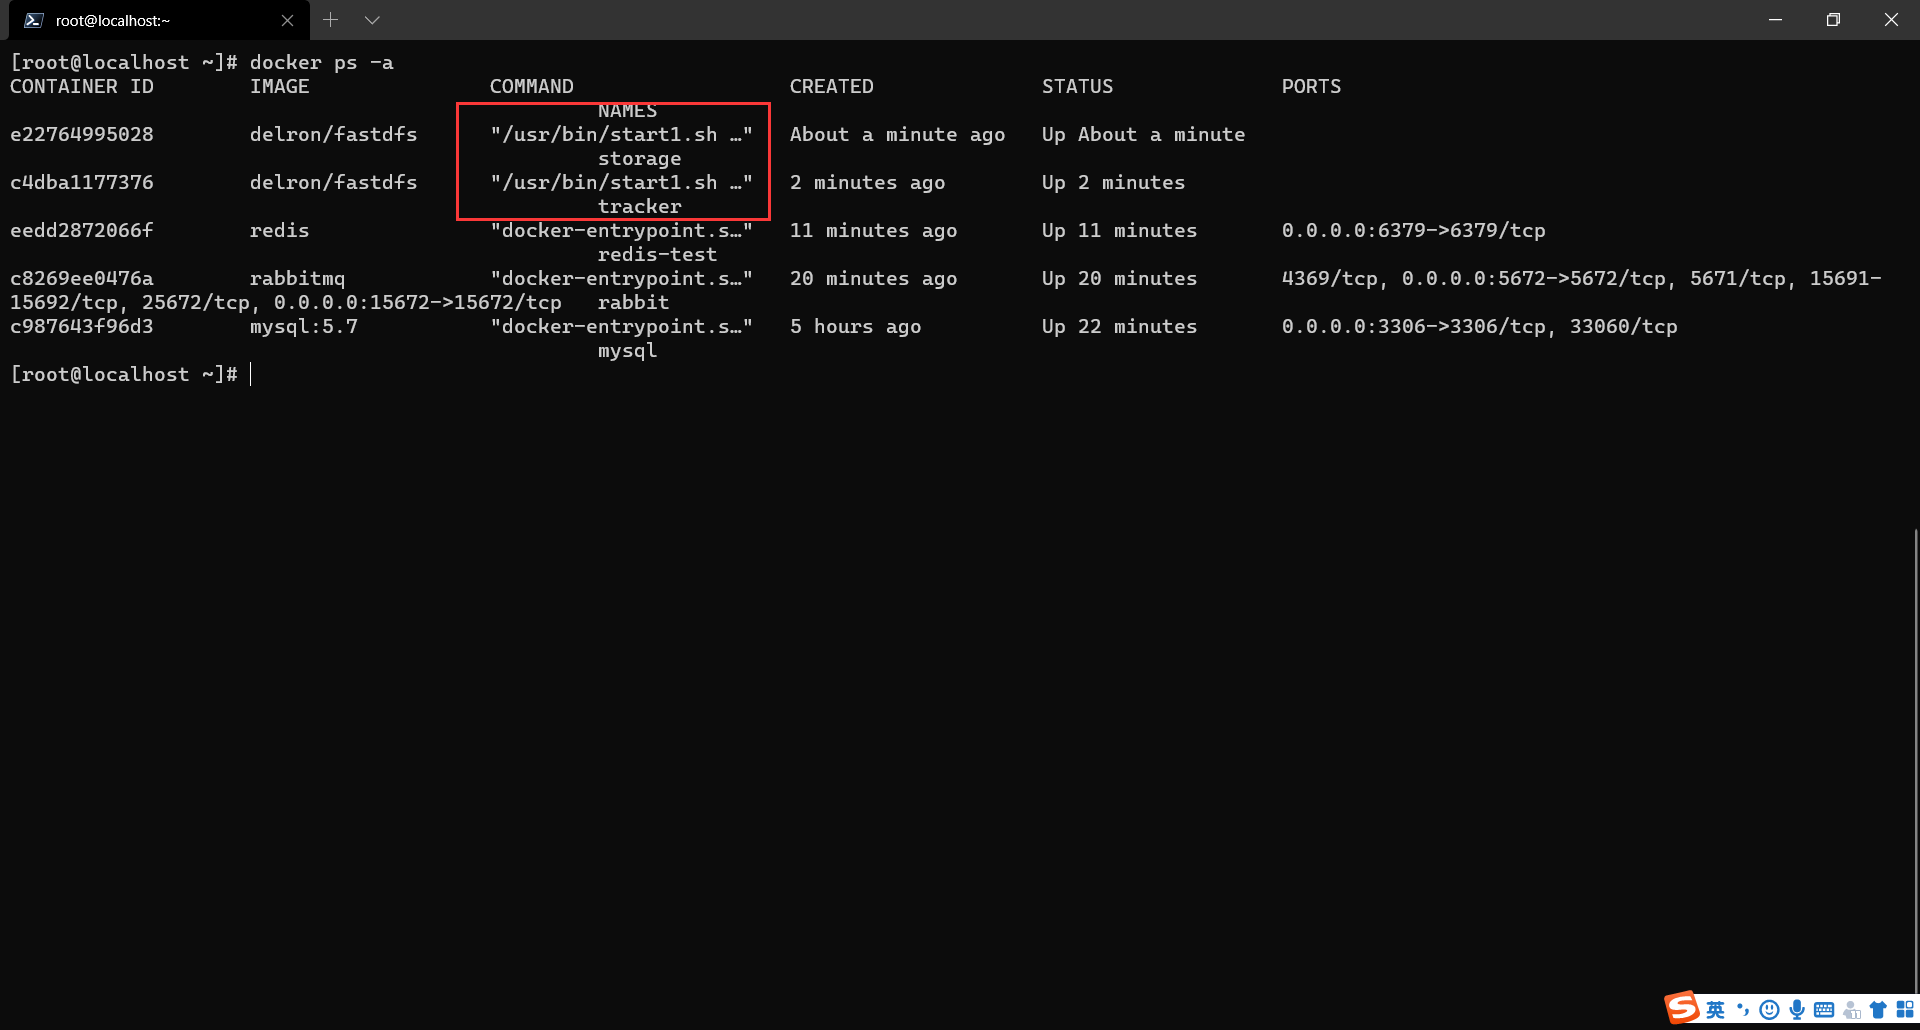
也可以使用docker stop/start 服务id 启动或运行
阿里云服务器记得开放端口22122
nginx
参考此帖Nginx配置挂载
安装
docker pull nginx
挂载Nginx配置与静态目录
mkdir -p /data/nginx/{conf,conf.d,html,logs}
创建配置文件
创建 vim /data/nginx/conf/nginx.conf 配置文件
#user  nobody;
worker_processes  1;

#error_log  logs/error.log;
#error_log  logs/error.log  notice;
#error_log  logs/error.log  info;

#pid        logs/nginx.pid;


events {
    worker_connections  1024;
}


http {
    include       mime.types;
    default_type  application/octet-stream;

    #log_format  main  '$remote_addr - $remote_user [$time_local] "$request" '
    #                  '$status $body_bytes_sent "$http_referer" '
    #                  '"$http_user_agent" "$http_x_forwarded_for"';

    #access_log  logs/access.log  main;

    sendfile        on;
    #tcp_nopush     on;

    #keepalive_timeout  0;
    keepalive_timeout  65;

    #gzip  on;

    server {
        listen       80;
        server_name  localhost;

        #charset koi8-r;

        #access_log  logs/host.access.log  main;

        location / {
            root   /usr/share/nginx/html;
            index  index.html index.htm;
        }

        #error_page  404              /404.html;

        # redirect server error pages to the static page /50x.html
        #
        error_page   500 502 503 504  /50x.html;
        location = /50x.html {
            root   html;
        }

        # proxy the PHP scripts to Apache listening on 127.0.0.1:80
        #
        #location ~ \.php$ {
        #    proxy_pass   http://127.0.0.1;
        #}

        # pass the PHP scripts to FastCGI server listening on 127.0.0.1:9000
        #
        #location ~ \.php$ {
        #    root           html;
        #    fastcgi_pass   127.0.0.1:9000;
        #    fastcgi_index  index.php;
        #    fastcgi_param  SCRIPT_FILENAME  /scripts$fastcgi_script_name;
        #    include        fastcgi_params;
        #}

        # deny access to .htaccess files, if Apache's document root
        # concurs with nginx's one
        #
        #location ~ /\.ht {
        #    deny  all;
        #}
    }


    # another virtual host using mix of IP-, name-, and port-based configuration
    #
    #server {
    #    listen       8000;
    #    listen       somename:8080;
    #    server_name  somename  alias  another.alias;

    #    location / {
    #        root   html;
    #        index  index.html index.htm;
    #    }
    #}


    # HTTPS server
    #
    #server {
    #    listen       443 ssl;
    #    server_name  localhost;

    #    ssl_certificate      cert.pem;
    #    ssl_certificate_key  cert.key;

    #    ssl_session_cache    shared:SSL:1m;
    #    ssl_session_timeout  5m;

    #    ssl_ciphers  HIGH:!aNULL:!MD5;
    #    ssl_prefer_server_ciphers  on;

    #    location / {
    #        root   html;
    #        index  index.html index.htm;
    #    }
    #}

}
配置index.html欢迎页
<!DOCTYPE html>
<html>
<head>
<title>Welcome to nginx!</title>
<style>
    body {
        width: 35em;
        margin: 0 auto;
        font-family: Tahoma, Verdana, Arial, sans-serif;
    }
</style>
</head>
<body>
<h1>Welcome to nginx!</h1>
<p>If you see this page, the nginx web server is successfully installed and
working. Further configuration is required.</p>

<p>For online documentation and support please refer to
<a href="http://nginx.org/">nginx.org</a>.<br/>
Commercial support is available at
<a href="http://nginx.com/">nginx.com</a>.</p>

<p><em>Thank you for using nginx.</em></p>
</body>
</html>
启动Nginx镜像
分别挂载:
1.配置
2.静态资源目录
3.日志
docker run –name mynginx -d -p 8081:80
-v /data/nginx/conf/nginx.conf:/etc/nginx/nginx.conf
-v /data/nginx/html:/usr/share/nginx/html
-v /data/nginx/logs:/var/log/nginx -d docker.io/nginx
注:要一整条完整的命令才能生效,不然出现报错【映射ip自行更改】
docker run –name mynginx -d -p 8081:80 -v /data/nginx/conf/nginx.conf:/etc/nginx/nginx.conf -v /data/nginx/html:/usr/share/nginx/html -v /data/nginx/logs:/var/log/nginx -d docker.io/nginx
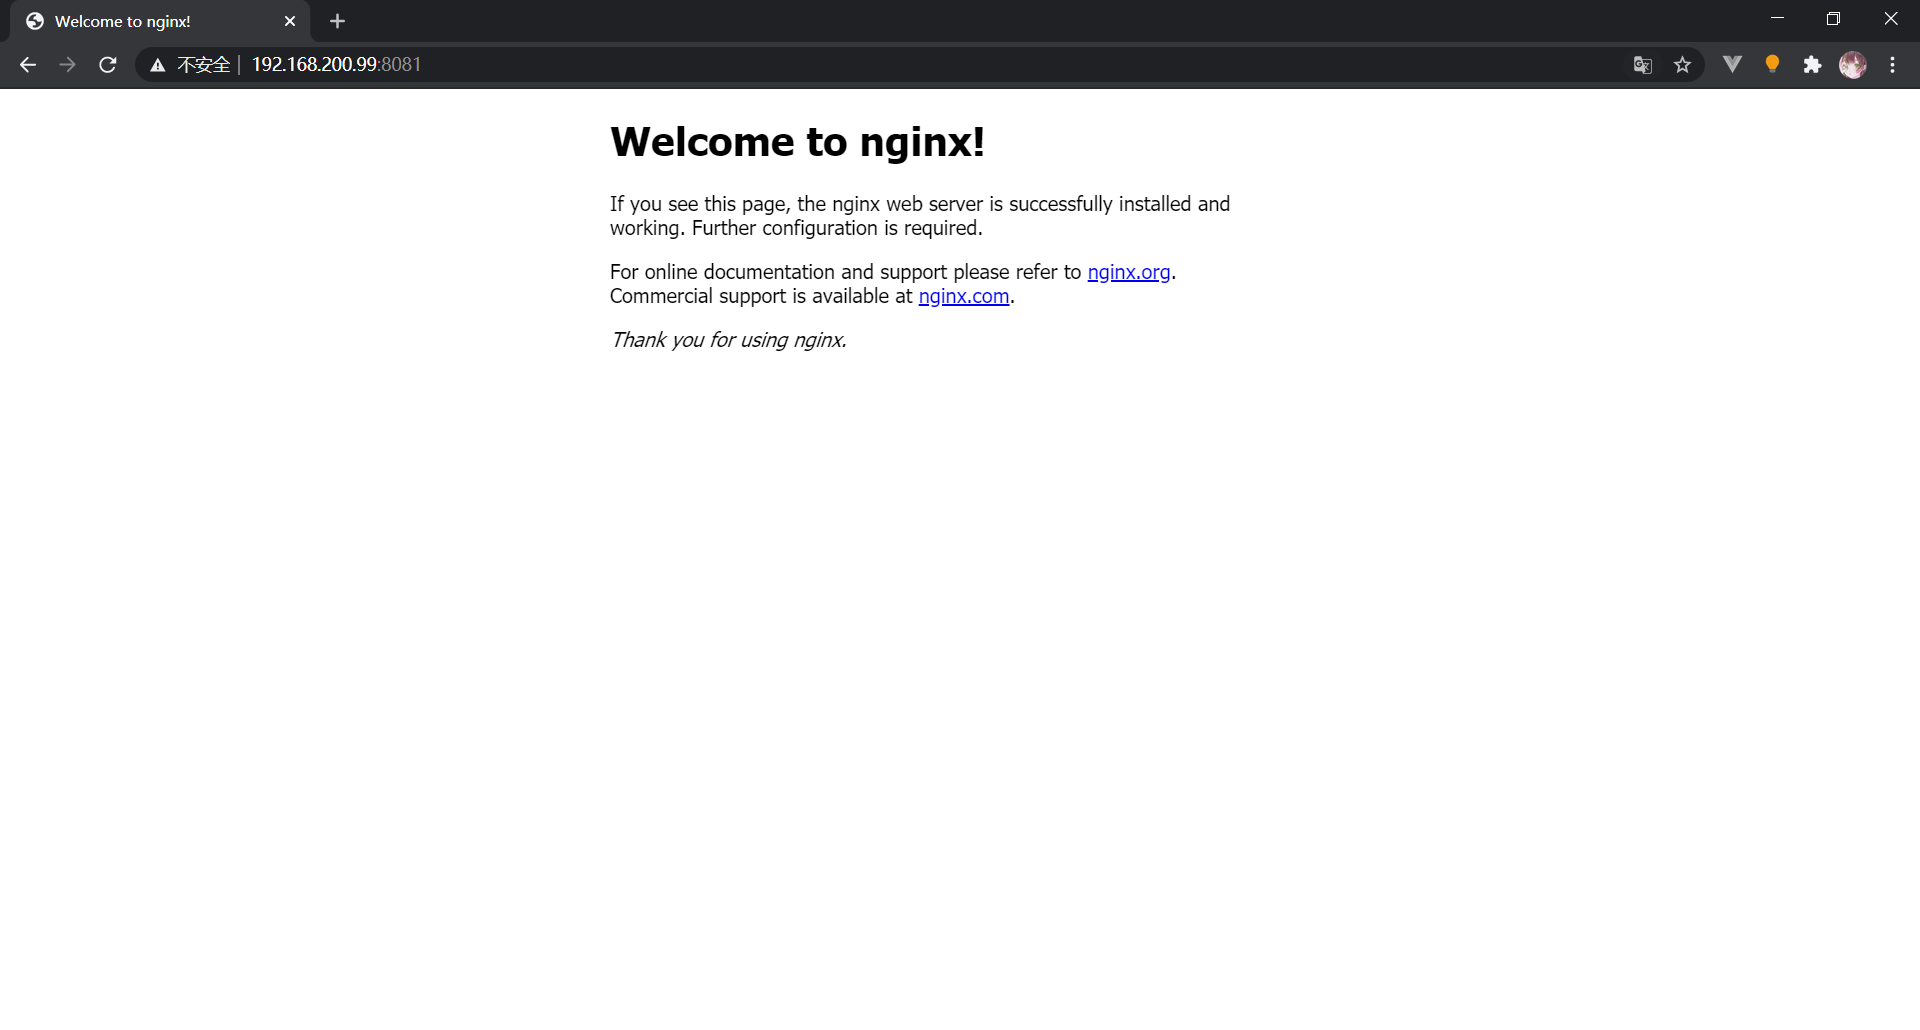
阿里云服务器记得开放端口8081
conusl
安装
docker pull consul
启动
docker run -d -p 8500:8500 –restart=always –name=consul consul:latest agent -server -bootstrap -ui -node=1 -client=’0.0.0.0’
