作者:Eddy 历史版本:1 最后编辑:Eddy 更新时间:2025-08-08 15:26
以下操作需要使用到root用户
下载
方式一:
Consul1.5.0
方式二:
$ wget https://releases.hashicorp.com/consul/1.5.0/consul_1.5.0_linux_amd64.zip
解压:
$ unzip -zxvf consul_1.5.0_linux_amd64.zip
$ mv consul /usr/local/consul
$ cd /usr/local/consul
$ mkdir data
设置服务
编写服务脚本:
vi /etc/init.d/consuld插入以下内容:
#!/bin/bash
# chkconfig: 2345 70 80
# description: consul script ....

# this script move to /etc/init.d
# must set variable c_home/s_ip

c_home=/usr/local/consul
s_ip=192.168.3.207 # 请设置为具体IP地址
pid_file=$c_home/consul.pid

start() {
        echo starting...
        $c_home/consul agent -bind=${s_ip} -ui -dev -client=0.0.0.0 -data-dir=$c_home/data/ >> $c_home/consul.log &
 echo $! > $pid_file
}

stop() {
        pid=$(cat $pid_file)
        echo stoping...
        kill -9 ${pid}
}

# See how we were called.
case "$1" in
  start)
        start
        ;;
  stop)
        stop
        ;;
  restart|reload)
        stop
    start
        ;;
  *)
        echo $"Usage: $0 {start|stop|restart|reload}"
        exit 1
esac

exit
设置服务:
$ chkconfig --add consuld
$ chkconfig consuld on
启动服务
service consuld start验证consul启动是否成功
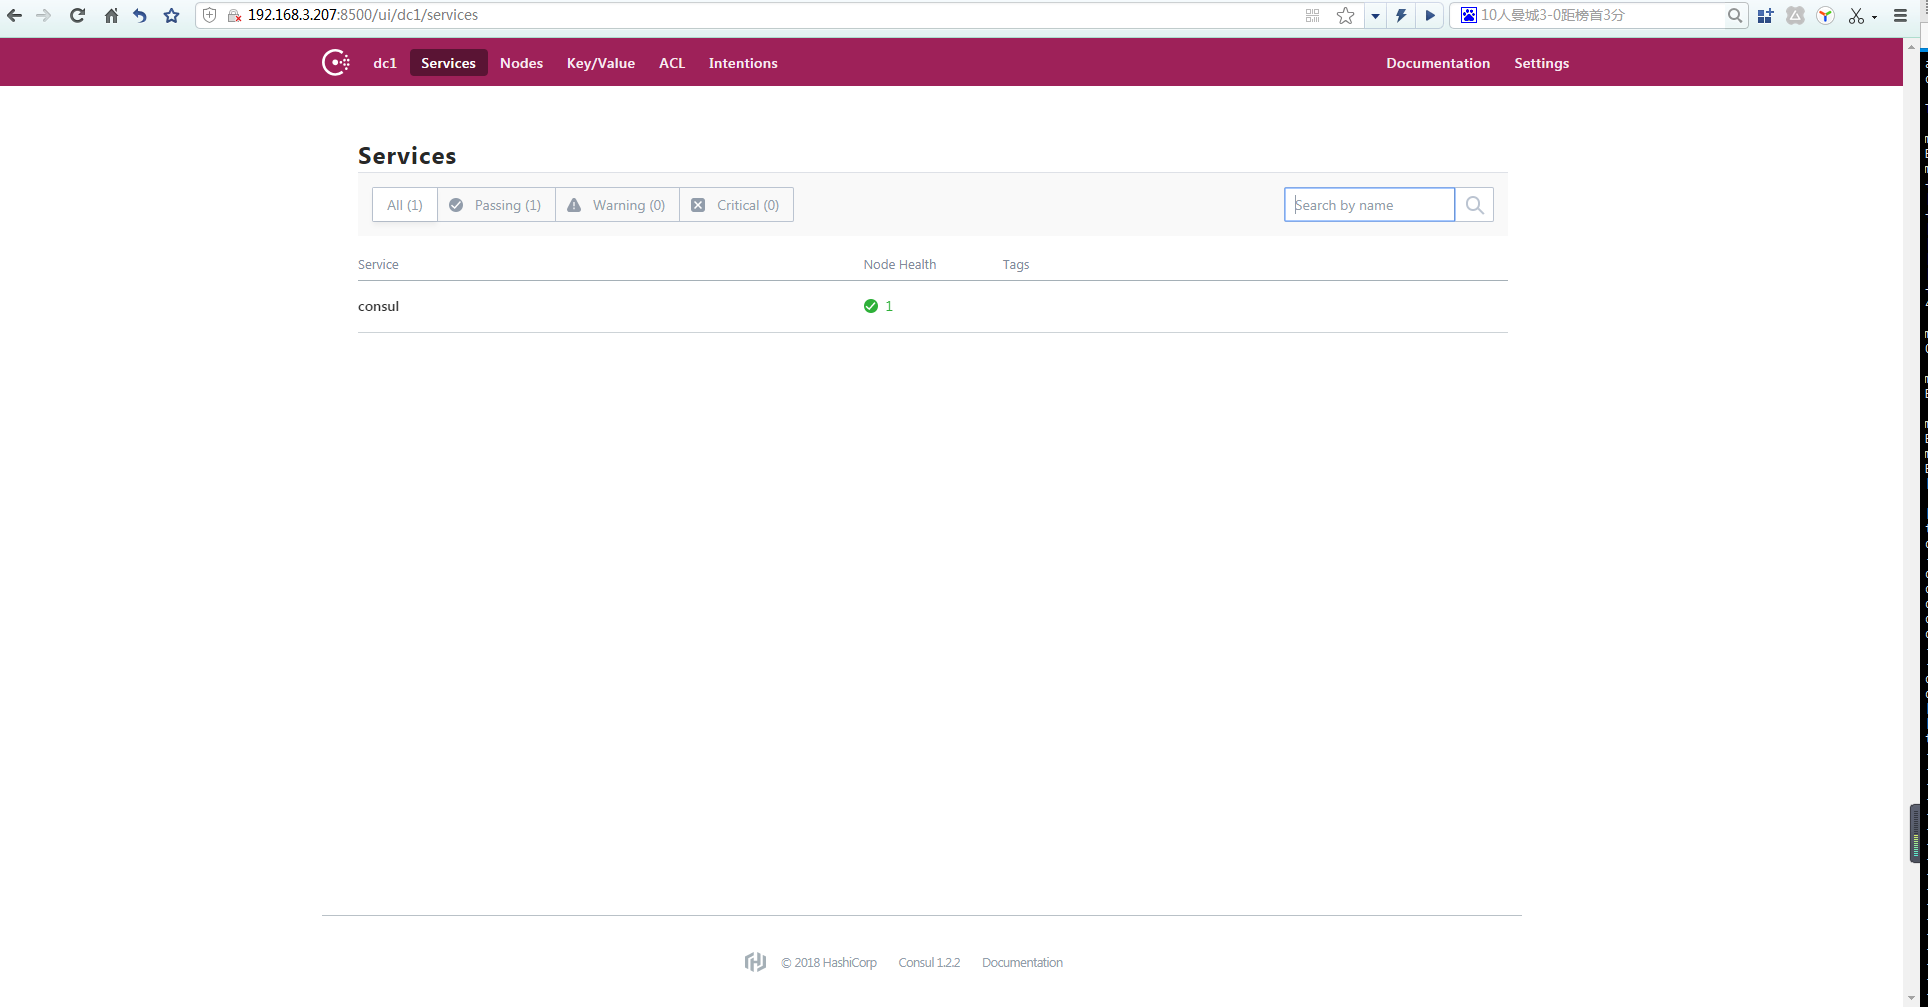
访问: http://192.168.3.207:8500 # IP地址需要改为实际IP
如果出现如下姐界面,请使用火狐浏览器打开试试,或者将浏览器版本升级到最新

